Vue Deployment
Here is a step-by-step guide on how to deploy your Vue on Cloudinator:
How to Deploy Vue on Cloudinator
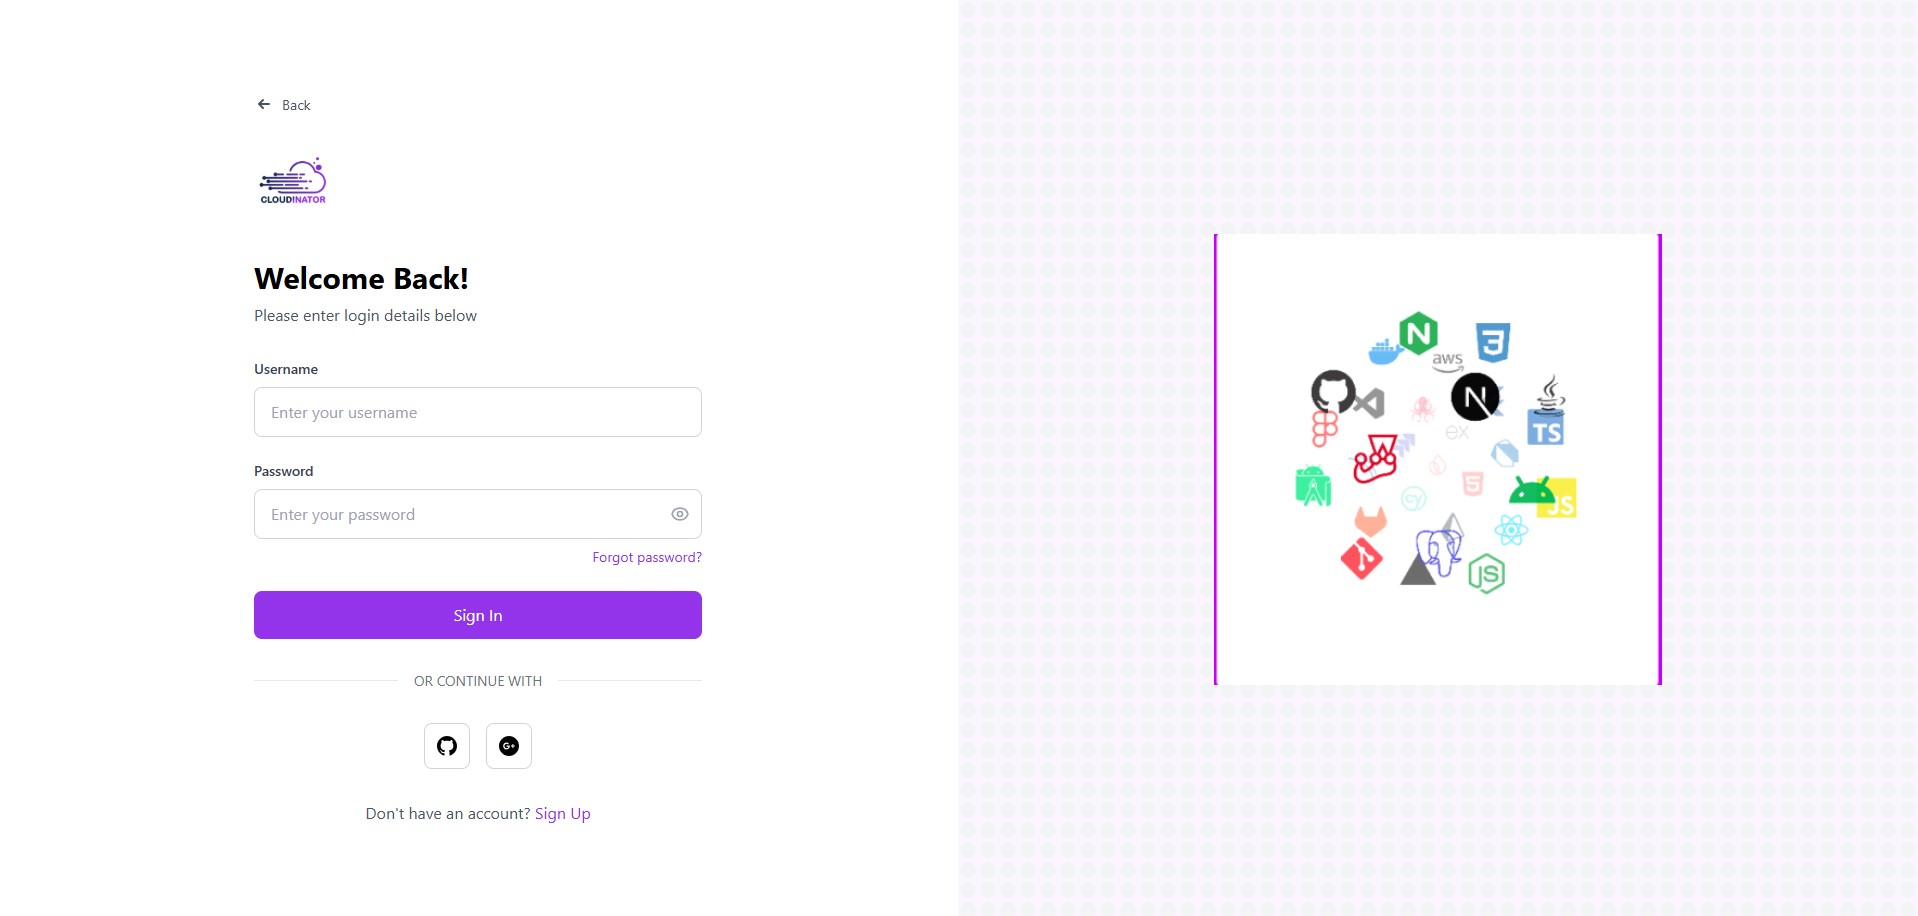
Step 1: Sign up for a Cloudinator account
Visit Cloudinator and create a new account or sign in if you already have one.
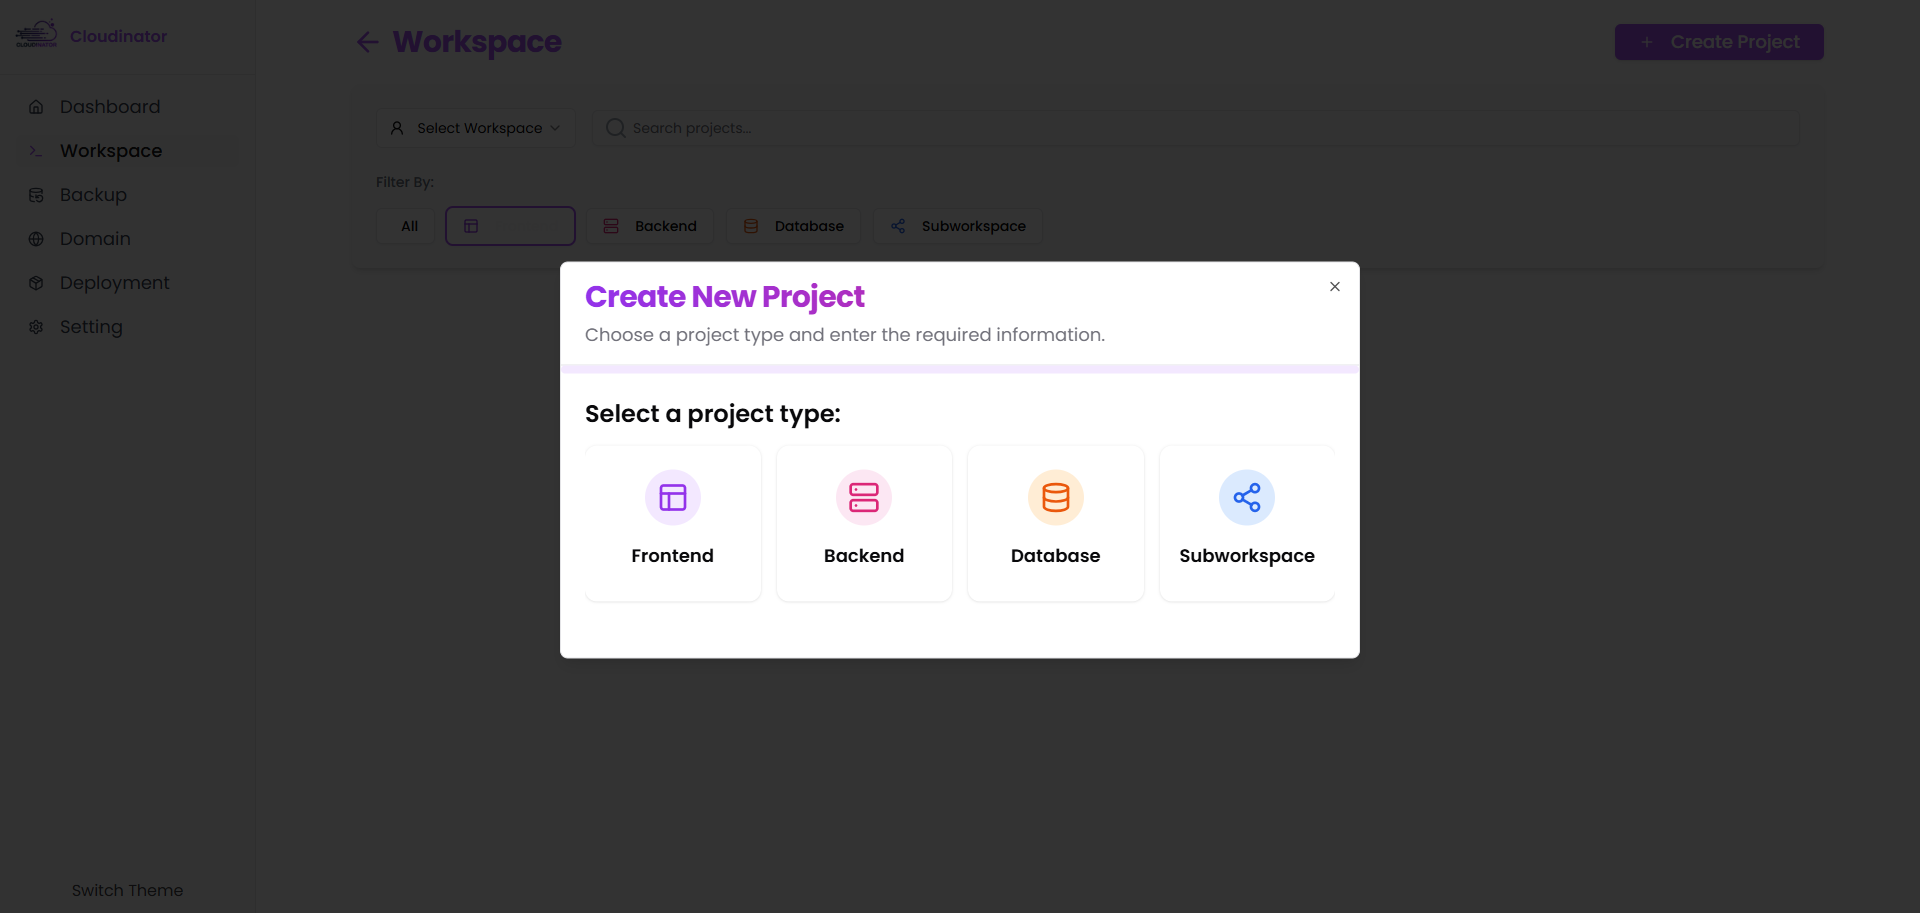
Step 2: Create a deploy Vue website
From your Cloudinator dashboard, click on 'Create Project' and select 'Frontend' in project type.
Notice!
Make sure you have a workspace containing your project's site. If you don't have one, you can create one now
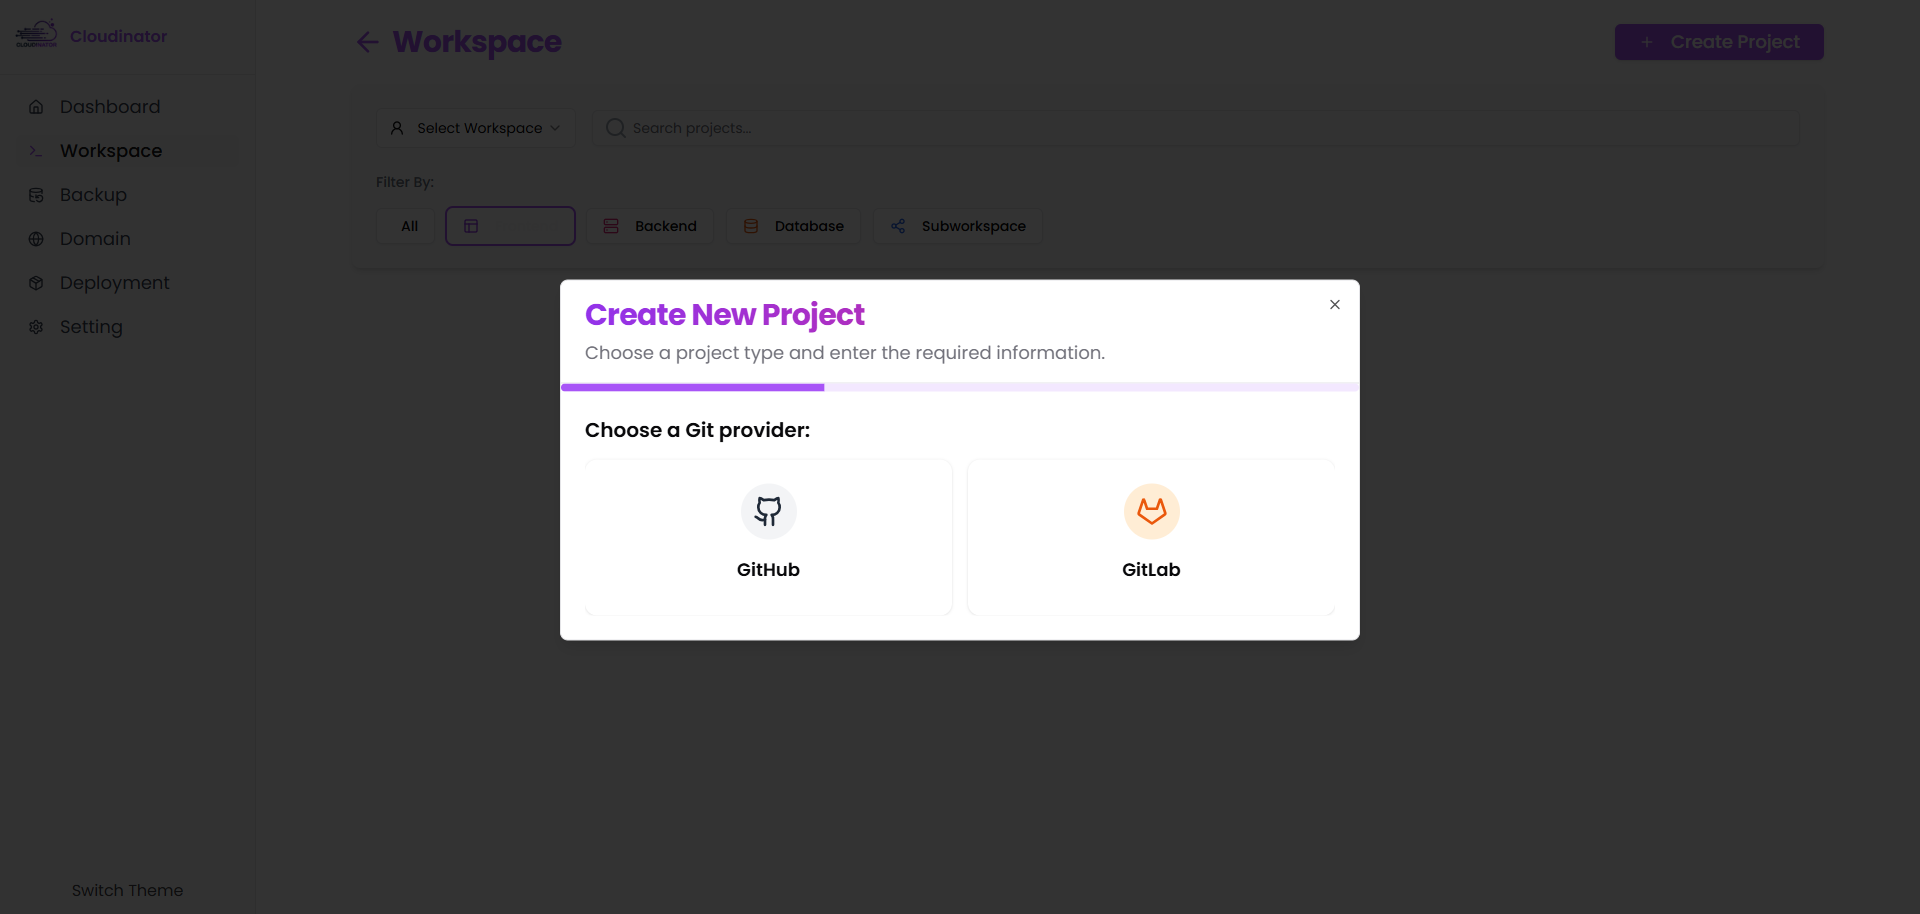
Step 3: Choose Git Provider
Choose the Git repository that contains your Vue files. You have the option to choose GitHub or GitLab

Step 4: Configure Deployment Settings
Set the following settings for your Vue:
- Project name
- Git URL
- Subdomain name
- Webhook for continuous deployment (optional)
Important!
Cloudinator will deploy your Vue files- using branch main
- Make sure in your Vue project file setup standalone in config file

Step 5: Deploy your site
Click 'Create Frontend Project' to start the deployment process. Cloudinator will automatically build and deploy your site.
Step 6: Access your deployed Vue website
Once deployment is complete, Cloudinator will provide you with a URL to access your live site.
Video Guide
Here is a quick introduction video about Vue deployment in cloudinator:
Resource
Here is overview of project structure:
basic-vue
View and copy the repository link
Repository Structure
- public
- src
- env.d.ts
- eslint.config.js
- index.html
- tsconfig.app.json
- tsconfig.json
- tsconfig.node.json
- tsconfig.vitest.json
- package-lock.json
- package.json
- README.md
- vite.config.ts
- vitest.config.ts